What’s in the Box
- G1C tracker unit
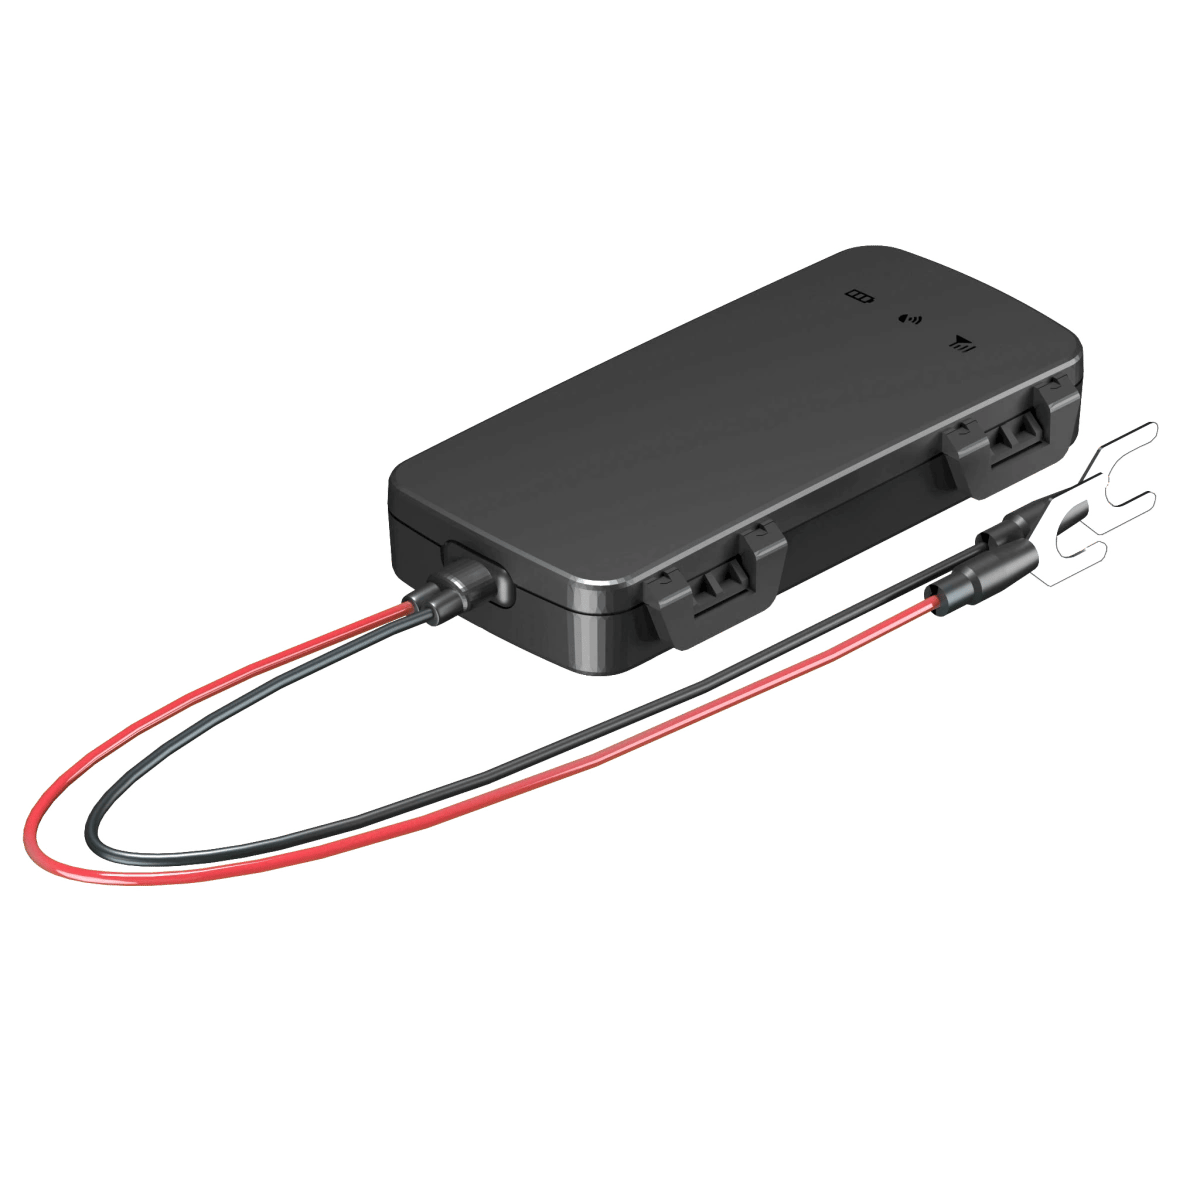
- Wiring harness (power and ground leads)
- Quick-start guide
Before you begin
If you haven’t already, activate your tracker, then download the app and sign in with the same account.Installation
1
Choose a hiding spot
Pick a concealed location inside your vehicle — common spots include behind the dashboard, inside the centre console, beneath a seat, or within a door panel. Make sure the chosen spot allows the device to maintain a clear view of the sky (or at least a thin plastic panel above it) for best GPS signal.
2
Connect the power lead
Connect the red wire to a switched or constant 12V power source. A switched source (one that only has power when the ignition is on) is recommended for most car installations. Use an in-line fuse tap on an existing fuse if you prefer a clean, no-cut installation.
3
Connect the ground lead
Connect the black wire to a clean chassis ground point — a bare metal bolt on the vehicle’s body or frame works well. A poor ground is the most common cause of tracker issues, so make sure the connection is solid.
4
Secure the device
Tuck the G1C unit into your chosen hiding spot. Keep wiring neat and away from heat sources, sharp edges, and moving parts. Use cable ties or adhesive clips to secure loose leads.
5
Power on and verify
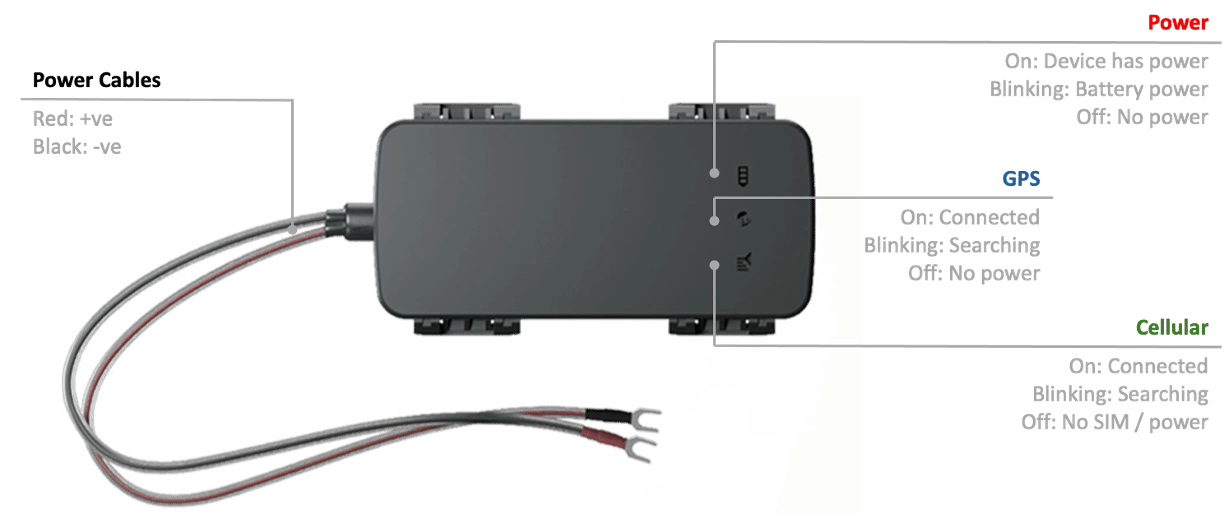
Turn on the vehicle’s ignition (or apply power to the circuit you wired into). The G1C will power on automatically. Check the LED indicators to confirm the device has started up correctly (see LED guide below).
Powering On & First Use
The G1C powers on automatically as soon as it receives power through the wired connection — there is no separate power button. After powering on, allow up to 2 minutes for the device to:- Acquire a GPS signal
- Connect to the 4G network
- Begin transmitting location data to the ShieldGPS platform
Check tracking in the app
1
Open your tracker
Open the ShieldGPS app or web dashboard and sign in with the account you used during activation. Select your G1C from the device list — activation adds it to your account automatically.
2
Confirm live tracking
Once your G1C has power, cellular signal, and a GPS fix, it will appear on the map. Tap the device icon to see its current location, speed, and status. Location updates every 10 seconds.
LED Indicator Meanings