What’s in the Box
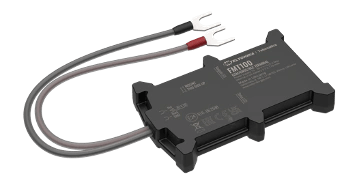
- FMT100 tracker unit
- Wiring harness (power, ground, and ignition sense leads)
- Quick-start guide
Before you begin
If you haven’t already, activate your tracker, then download the app and sign in with the same account.Installation
1
Plan your installation location
Choose a concealed location inside the vehicle where the FMT100 will be hidden. Popular spots include behind the dashboard, inside the engine bay (away from heat and moisture), under a seat, or within the boot/trunk lining. The device should be positioned so that it has reasonable line-of-sight to the sky — even through thin plastic panels — for the best GPS signal.
2
Identify your power connections
You will need access to three circuits in your vehicle:
- Constant 12V — always live, even with the ignition off (e.g. the battery terminal, a fuse box feed)
- Ignition-switched 12V — only live when the ignition is on (optional, for ignition-sense wiring)
- Ground — a clean chassis ground point
3
Connect the power lead
Connect the red wire to a constant 12V source. Using an in-line fuse tap on an appropriate fuse in the fuse box keeps the installation tidy and protects the circuit. Always use the correct fuse rating as specified in the FMT100 user guide.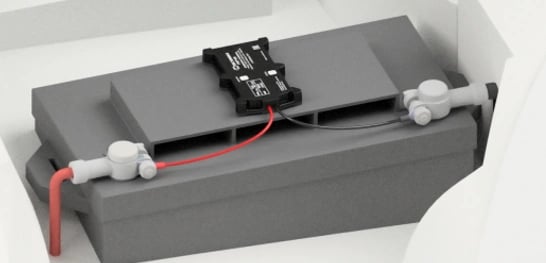
4
Connect the ground lead
Connect the black wire to a clean chassis ground — a bare metal bolt on the vehicle’s body or frame is ideal. A secure ground connection is critical; a poor ground is the most common cause of intermittent tracking issues.
5
Connect the ignition sense lead (recommended)
If your harness includes an ignition sense wire, connect the yellow wire to a 12V source that is only live when the ignition is on. This allows the FMT100 to detect ignition state and log trip start/end times accurately.
6
Secure and conceal the device
Tuck the FMT100 into your chosen hiding spot and secure all wiring neatly using cable ties. Route wires inside existing cable looms or behind trim panels for a professional, tamper-resistant result.
7
Verify operation
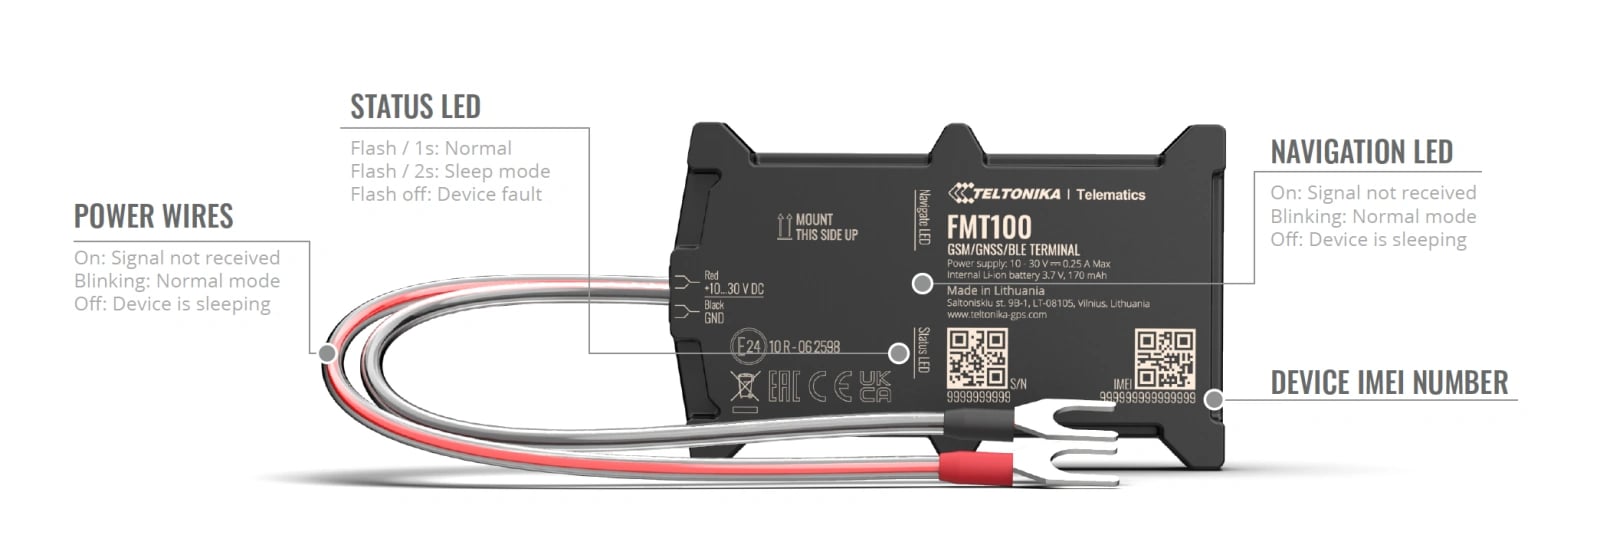
Restore power and check the LED indicators to confirm the FMT100 has powered on, acquired GPS, and connected to the network. Confirm live tracking is visible in the ShieldGPS app.
Powering On & First Use
The FMT100 powers on automatically as soon as it receives 12V power through the wired connection — there is no power button. On first use, allow up to 3 minutes for the device to:- Initialise and run self-checks
- Acquire a GPS fix (best done outdoors with clear sky view)
- Connect to the 4G network
- Begin transmitting location data to the ShieldGPS platform
Check tracking in the app
1
Open your tracker
Open the ShieldGPS app or web dashboard and sign in with the account you used during activation. Select your FMT100 from the device list — activation adds it to your account automatically.
2
Confirm live tracking
Your FMT100 will appear on the map with real-time location, ignition status, and speed. Location updates every 10 seconds while the vehicle is in motion.
LED Indicator Meanings