> ## Documentation Index
> Fetch the complete documentation index at: https://docs.shieldgps.com/llms.txt
> Use this file to discover all available pages before exploring further.
# Activate Your ShieldGPS Tracker: A Step-by-Step Guide
> Link your ShieldGPS device to your account and start your subscription in minutes using the IMEI number found on your device packaging.
Activation links your tracker's unique IMEI number to your ShieldGPS account and starts your subscription, so the platform can begin receiving live location data from your device. The whole process takes just a few minutes and is completed entirely online at the ShieldGPS activation portal.
 Before you begin, make sure you have the following ready:
* **Your device** — have the tracker physically in hand or nearby.
* **Your IMEI number** — the 15-digit number printed on your device packaging or found inside the ShieldGPS app under device settings.
* **An email address** — used to create or log in to your ShieldGPS account.
## Activation Steps
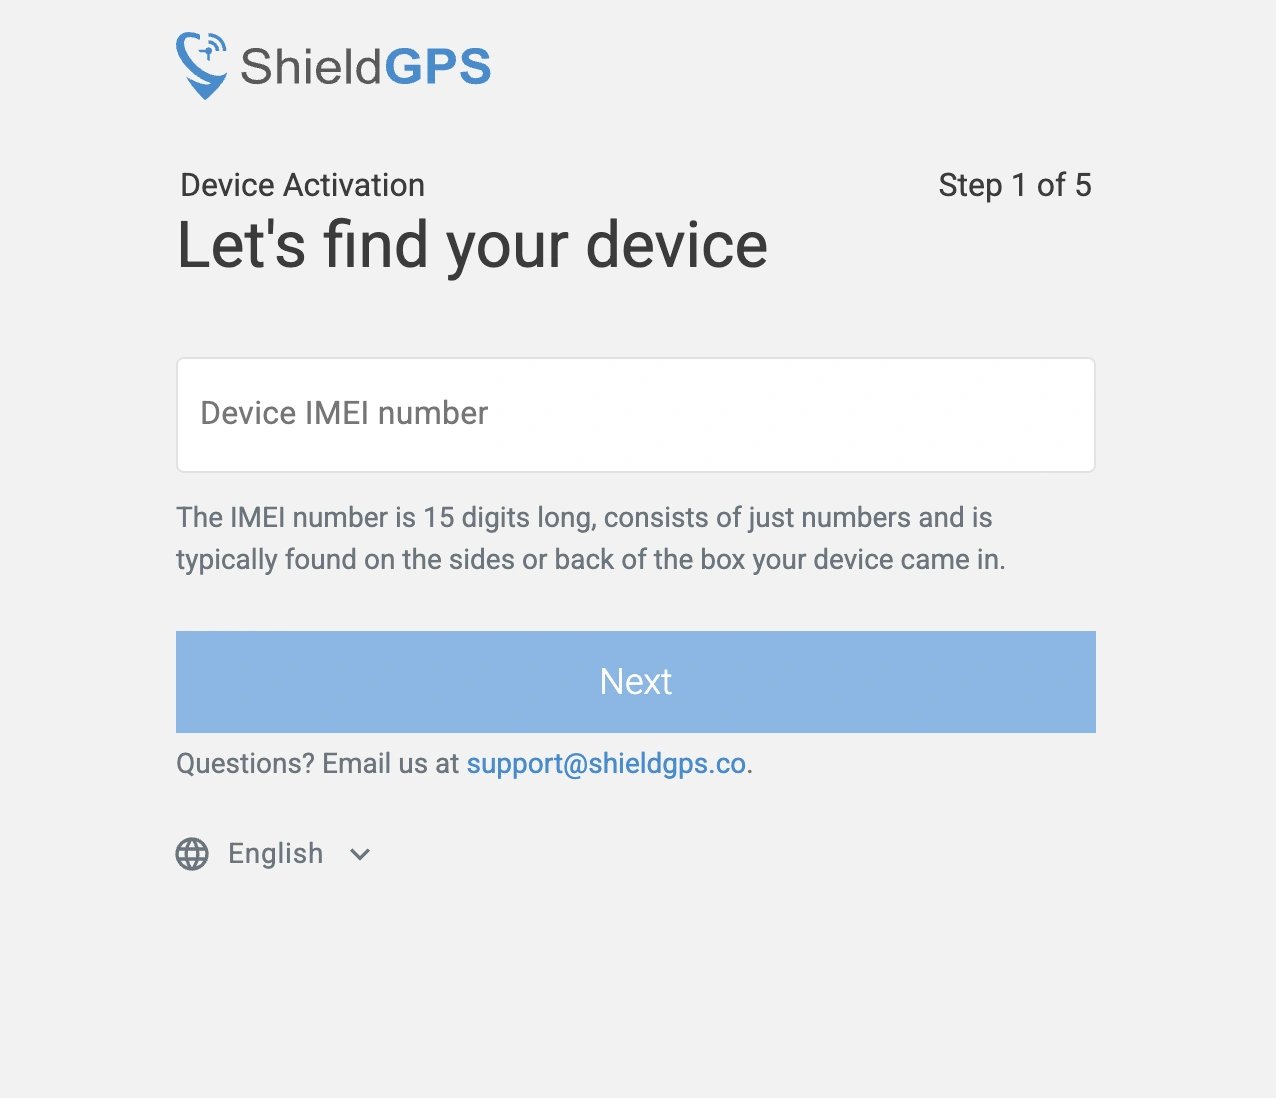
Open a browser and go to [shieldgps.co/activate](https://shieldgps.co/activate). This is the only place where new devices are registered.
Type the IMEI number exactly as it appears on your device packaging or inside the app. The IMEI is 15 digits long — double-check each digit to avoid activation errors.
If you're a new customer, enter your email address and create a password to set up your account. If you've activated a device before, log in with your existing credentials.
Select the subscription plan that suits your needs. All plans include live tracking, route history, geofences, and access to the iOS, Android, and web apps.
Enter your payment details and confirm your order. Your device activates immediately — no waiting period required.
Each ShieldGPS device requires its own active subscription. If you have multiple trackers, repeat the activation process for each one. All devices appear on the same account with no limit on how many you can add.
## Confirming Activation
Once you've completed payment, open the ShieldGPS app on your phone or visit the [web dashboard](https://shieldgps.co/dashboard) and log in with your account credentials. Your newly activated device will appear in your device list. Power on your tracker — it should show its location on the map within a few minutes of starting up.
If your device doesn't appear on the map after powering on, check the following: make sure the device has a power source (battery or wired connection), confirm it's in an area with cellular signal, and try placing it outdoors or near a window so it can acquire a GPS fix. Indoor environments can block GPS signals.
Before you begin, make sure you have the following ready:
* **Your device** — have the tracker physically in hand or nearby.
* **Your IMEI number** — the 15-digit number printed on your device packaging or found inside the ShieldGPS app under device settings.
* **An email address** — used to create or log in to your ShieldGPS account.
## Activation Steps
Open a browser and go to [shieldgps.co/activate](https://shieldgps.co/activate). This is the only place where new devices are registered.
Type the IMEI number exactly as it appears on your device packaging or inside the app. The IMEI is 15 digits long — double-check each digit to avoid activation errors.
If you're a new customer, enter your email address and create a password to set up your account. If you've activated a device before, log in with your existing credentials.
Select the subscription plan that suits your needs. All plans include live tracking, route history, geofences, and access to the iOS, Android, and web apps.
Enter your payment details and confirm your order. Your device activates immediately — no waiting period required.
Each ShieldGPS device requires its own active subscription. If you have multiple trackers, repeat the activation process for each one. All devices appear on the same account with no limit on how many you can add.
## Confirming Activation
Once you've completed payment, open the ShieldGPS app on your phone or visit the [web dashboard](https://shieldgps.co/dashboard) and log in with your account credentials. Your newly activated device will appear in your device list. Power on your tracker — it should show its location on the map within a few minutes of starting up.
If your device doesn't appear on the map after powering on, check the following: make sure the device has a power source (battery or wired connection), confirm it's in an area with cellular signal, and try placing it outdoors or near a window so it can acquire a GPS fix. Indoor environments can block GPS signals.